How to Use a Broadfork: Step-by-Step + Mistakes
A broadfork is a simple tool. But if you use it the wrong way, you’ll feel it fast—in your lower back, in your wrists, or (worst case) in your feet.
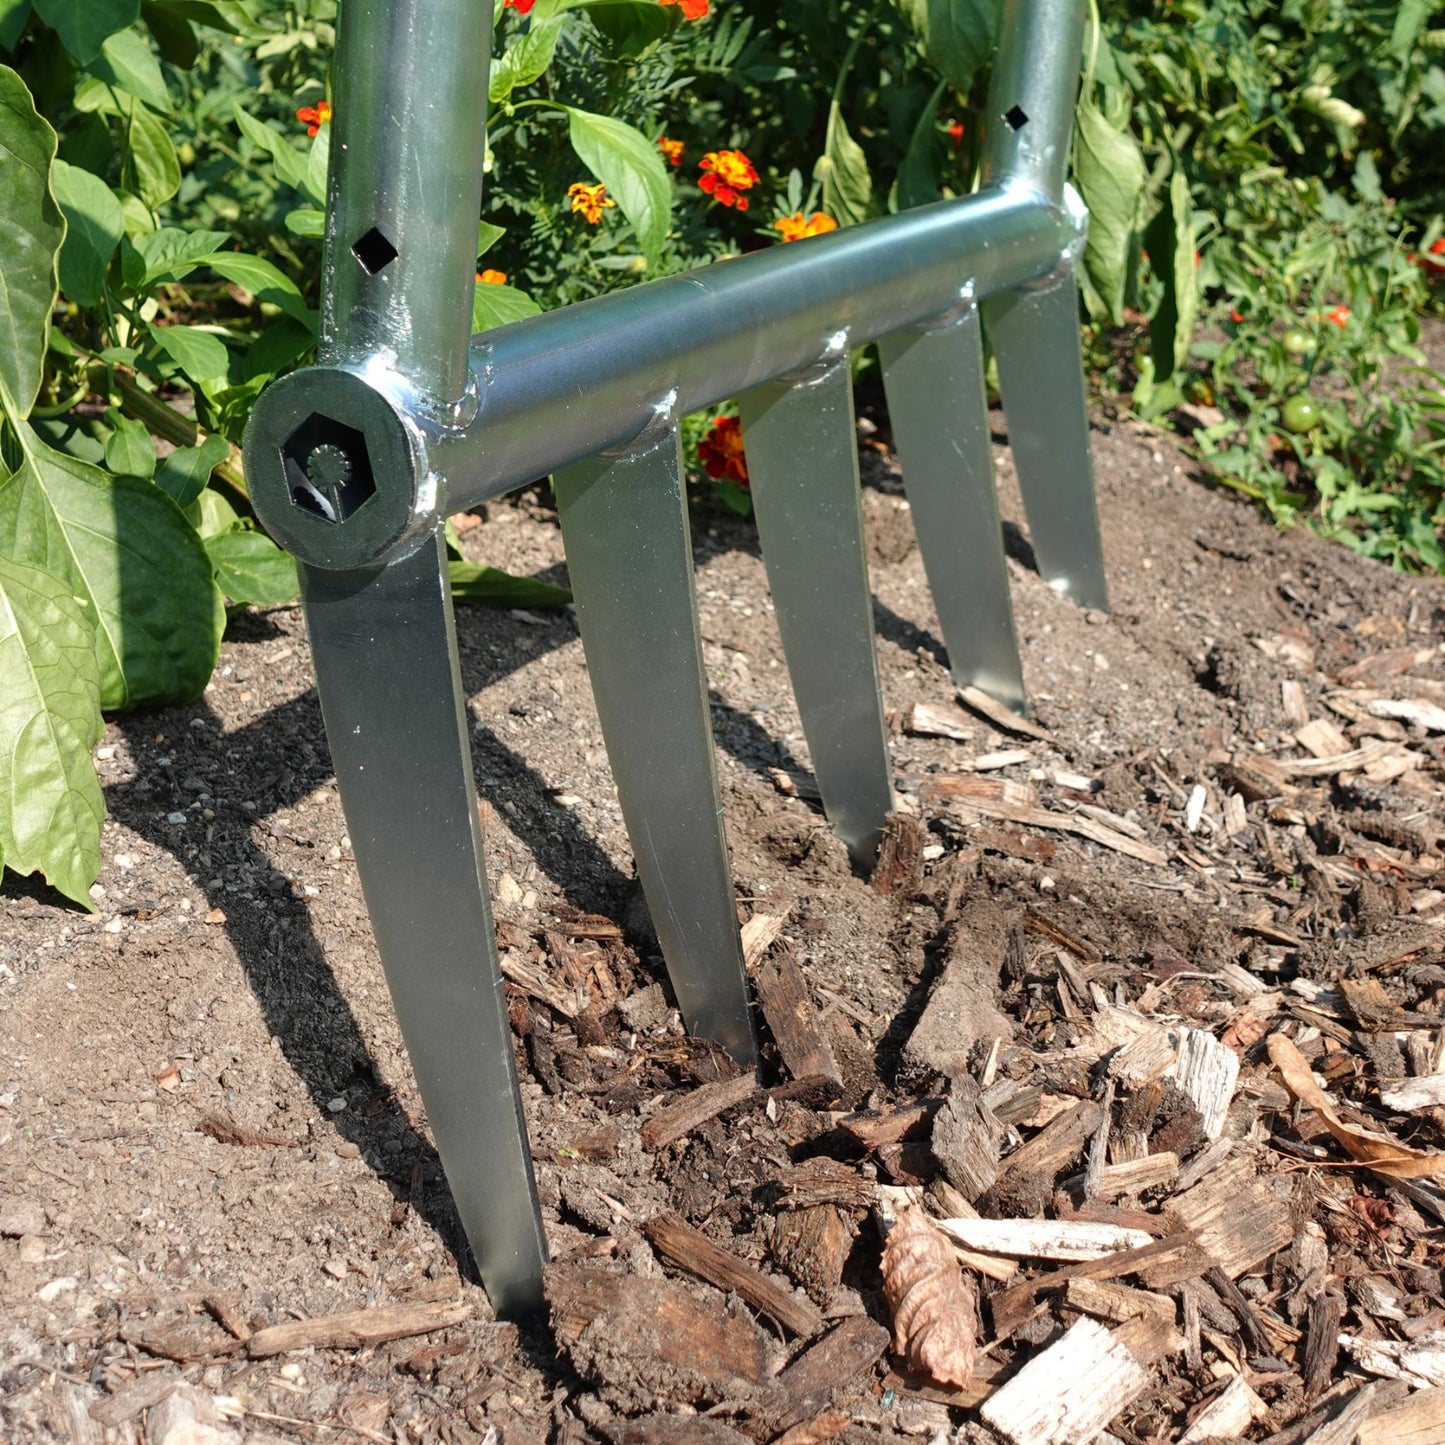
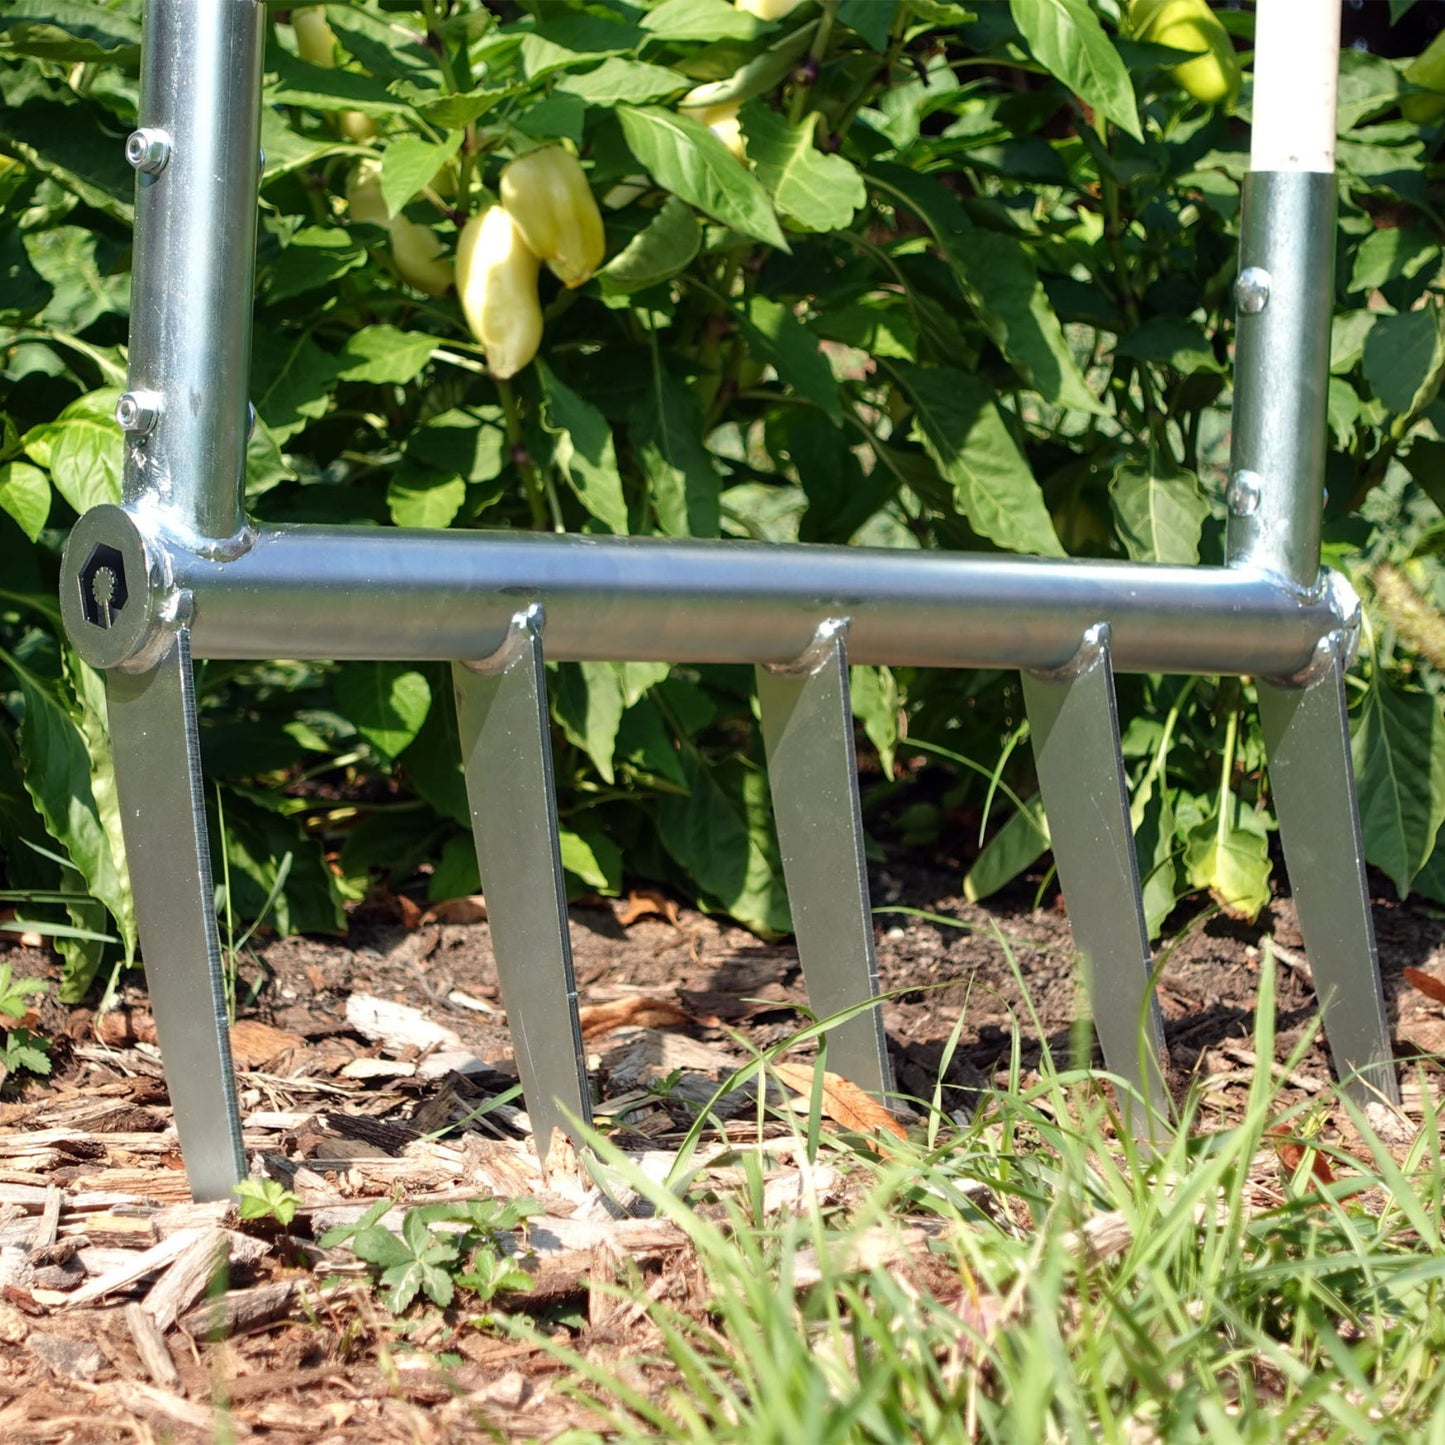
In this post I’ll show you the exact technique I use. It’s the same one from the video below: safe, efficient, and made for doing many beds in a row without wrecking your body. The goal is not to “dig” the soil like a spade. The goal is to crack it open so air and water can move, roots can go deeper, and soil life stays where it belongs.
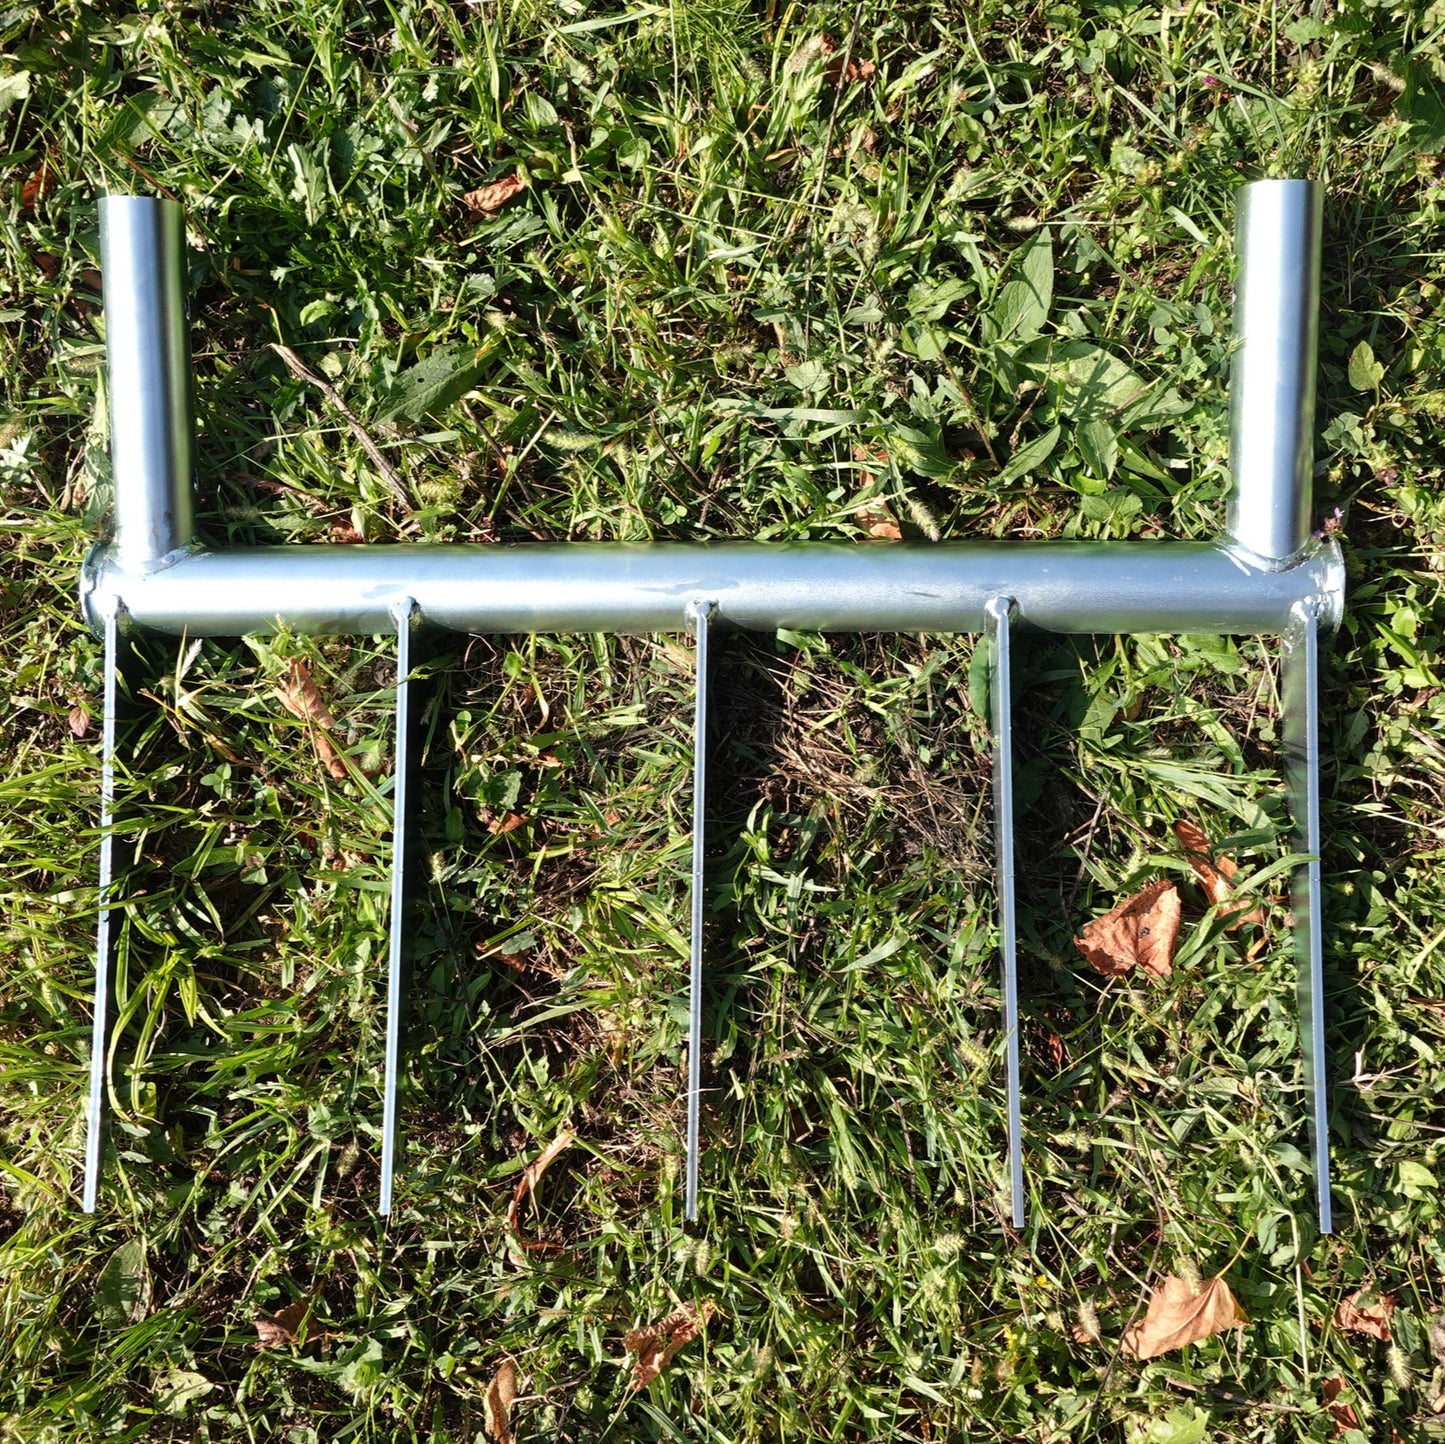
If you want to see the tool first, here is our Broadfork. And if you’re building a full workflow around permanent beds, you’ll find the rest of our market garden tools here.
Watch the video: How to use the Broadfork
Why a broadfork (instead of a tiller)
On small farms and in market gardens, we usually want three things from bed prep:
- We want the soil to breathe and drain better.
- We want to keep soil structure and life as intact as possible.
- We want a workflow we can repeat all season—without machines and without back pain.
A rotary tiller chops the soil and mixes layers. Sometimes people use it because it’s fast. But the price is disturbance. A broadfork is different: it opens and cracks the soil without flipping it over. It’s not magic, but it’s a very practical tool for low-till and no-dig systems—especially in permanent beds.
Safety first: the mistakes that cause injuries
I’ll start with what not to do, because these are the mistakes that cause injuries or break tools. I’ve seen all of them.
Don’t lift it high

Never lift the broadfork high in the air. The tines are sharp and hardened steel. If you slip or the tool bounces, you can stab your own foot. Keep the tines low. Always.
Don’t “spear” the soil
Some people try to throw the broadfork into the ground like a spear. It looks strong, but it’s not effective. You lose control, you waste energy, and you don’t get consistent depth. The broadfork works best when you use your body weight, not your arms.
Don’t jump on the bar

Don’t jump up and down on the crossbar. It’s bad for your ankles and knees, and it puts unnecessary stress on the handles. Use steady weight transfer. You’ll get better results and you’ll work longer.
Don’t over-bend and over-pull


This one is the most common. People pull the handles way too far back and bend their back at the same time. Here is the truth: after a certain point, you don’t gain anything. You already cracked the soil. All you’re doing is wasting movement and loading your spine. Crack the soil. Don’t try to fold the bed in half.
The correct broadfork cycle (step-by-step)
This is the cycle. Once you get it, broadforking becomes smooth and almost relaxing. It’s a rhythm.
Step 1 — Set, foot, weight shift

- Set the tines where you want the first bite.
- Put one foot on the crossbar (the round tube).
- Shift your body weight onto that foot and let the tool go in.
Tip: it’s not a stomp. It’s a controlled weight shift.
Step 2 — Crack the soil (small pull-back)

Now use the handles as levers. Keep your back neutral and pull back slightly until you feel the soil crack. That’s the point. You’re not trying to lift soil. You’re creating cracks so water, air, and roots can move.
Step 3 — Slide, don’t lift (10–20 cm)
This is the secret to saving your back over a full day: don’t lift the broadfork every time. Just slide it backward along the ground to the next position—about 10 to 20 cm. Sliding keeps the work light and fast.
Repeat the cycle across the bed with consistent spacing.
Ergonomics: the “cat stance” for a safe back
If you have lower back pain (or you want to avoid it), this matters more than strength.

I call it the “cat stance” because it comes from martial arts. The idea is simple: let the legs do the work, keep your center of gravity controlled, and keep your spine neutral when the tool is under load.
- Your weight shifts through your legs, not through your lower back.
- Your center stays controlled, so the movement is efficient.
- Your back stays neutral—no rounding, no collapsing.
In practice:
- Knees soft (not locked)
- Hips under you (no big forward fold)
- The work comes from a weight shift, not a big yank
If you catch yourself rounding your back, stop, reset, and continue. The right technique feels calm. That’s how you know it’s right.

Compacted or heavy soil: how to do it without breaking yourself
When the soil is compacted—new garden, heavy clay, lots of traffic—don’t try to do everything in one pass.
- Do 2 to 3 passes in the same area, gradually going deeper.
- Focus on cracking and opening, then move on.
It feels slower, but it’s usually faster in real life. You save energy, you protect your body, and you don’t abuse the tool.
Field note: in compacted ground, 2–3 passes beats fighting for full depth once.
Practical tips for clean, repeatable bed prep
- Soil moisture matters. If the soil is too wet, broadforking can smear instead of opening structure. If it’s bone dry, you’ll fight the tool. Aim for “crumbly, not sticky.”
- Keep a rhythm. Broadforking is fast when it’s smooth and repeatable.
- Don’t chase perfection. You’re opening channels, not making powder.
- Use surface tools when needed. Broadforking opens the soil; it doesn’t finish a seedbed. If you need a cleaner surface or you want to disrupt tiny weeds, do that as a separate step.
- Broadfork when needed. In permanent beds, it’s not a weekly ritual. Use it when compaction shows up, or when a bed truly needs loosening.
Field note: most beginners pull the handles too far back—cracking is enough.
Field note: slide 10–20 cm instead of lifting—that’s what saves your back.
Common mistakes (quick checklist)
- Lifting the tool high (dangerous)
- Throwing/spearing the soil (wastes energy, loses control)
- Jumping on the bar (hurts joints, stresses handles)
- Over-pulling and rounding the back (strain with no benefit)
- Trying to go full depth immediately in hard ground (fatigue + damage risk)
- Lifting every step instead of sliding (slow + exhausting)
- Broadforking when soil is too wet (can smear instead of opening)
Tools checklist
For a clean broadfork session, here’s what I recommend:
- A Broadfork sized for your bed system
- Sturdy boots (please don’t do this in soft shoes)
- Gloves (optional, but nice in cold/wet weather)
- A simple plan: where you start and where you finish
Optional workflow tools (depending on what you’re doing next):
- Roto Hoe for quick surface refinement and tiny weed disruption
- Single Wheel Hoe for inter-row cultivation once crops are established
- NanoTrack MK2 if you’re building a faster cultivation system over time
Browse the full lineup here: market garden tools.
FAQ
Does broadforking count as tillage?
It’s soil disturbance, yes—but it’s not inversion tillage. You’re cracking and aerating without flipping layers. For many growers, it’s the practical middle path: minimal disturbance, but still a real fix for compaction when needed.
How deep should I broadfork?
Deep enough to crack the compaction layer—but not so deep that you’re fighting the tool and bending your back. In hard soil, build depth over multiple passes.
When should I broadfork beds?
Common timings are early season before first plantings, between successions when a bed needs loosening, or after heavy traffic and harvest compaction. Avoid saturated soil.
Is a broadfork good for clay soil?
Yes, with the right approach. Don’t force it in one pass, and pay attention to moisture. Clay at the wrong moisture is a battle.
Why does my broadfork feel stuck?
Usually it’s one of these: soil too dry or too wet, trying to go too deep too fast, pulling too far back instead of cracking slightly, or lifting instead of sliding to reset your angle.
Can I broadfork a bed every week?
Most growers don’t need to. Use it when you’re correcting compaction or prepping a bed. For routine weed control and surface work, timing and lighter tools usually do more.
Next step
If you want a reliable low-till workflow, start with the Broadfork and then build the rest of your system around it. You can see the rest of our tools here: market garden tools.
No hype. Just tools built for growers who plan to be doing this work for a long time.